Adding skylights to a metal roof can bring natural light into your space and help create a more open feel indoors. But getting the installation right takes more than just cutting a hole in the roof and fitting a window. Metal roofing behaves differently than traditional roofing materials, and skylights add an extra layer of complexity. If the details aren’t handled correctly, it could lead to leaks or issues with heat and moisture balance.
The key to success lies in planning. Whether you’re working on a new project or replacing an older roof, it’s important to think through how your skylights will interact with the rest of the system. This is especially true if you’re using ribbed metal roofing panels. These panels offer strength and water resistance but require proper prep work around areas like skylights to keep that protection intact. Here’s how to get started on the right foot before the panels go up.
Preparing For Skylight Installation
Before installing a skylight in your metal roofing system, it’s helpful to slow down and map things out. A few careful steps at the beginning can keep you from making expensive fixes later. The first thing to consider is placement. Skylights should be positioned where they’ll receive enough sunlight but won’t compromise the roof’s strength or drainage pattern.
When deciding where to place skylights, think about what’s going on underneath the roof, too. Are there ceiling beams, HVAC units, plumbing vents, or attic structures you need to avoid? Coordinate with your building plans and consider how the opening will align with the roof’s ribs and seams. You want an opening that allows the skylight to rest between the raised ribs of your metal panels without distorting the shape or strength of the roof.
Here’s a quick checklist for skylight prep:
– Take final measurements of the skylight, including its flashing kit
– Use a chalk line or straightedge to outline the skylight’s location on the sheathing
– Pre-cut your underlayment around this area before securing it to the roof deck
– Double-check the position from both inside and out to catch any misalignment
– Mark panel sections that will need cutting or trimming for better fit later
Situating the skylight carefully will also help with water drainage. Water should flow downhill and away from the unit, not collect on the uphill side or at the edges. That slope matters a lot when using ribbed metal roofing panels because that ribbed pattern helps direct water off the roof. If panels or ribs get cut across the wrong way, it can change the way water moves, which puts your home at risk of water damage.
Taking your time in this early stage sets up everything else for success, especially when it’s time to frame, flash, and install those panels cleanly.
Choosing The Right Materials
Once you’ve clearly mapped out where to place your skylights, the next step is gathering all the right materials. Reliable installation starts with using quality products, especially in an area like a skylight where different elements like light, heat, water, and air are all interacting together.
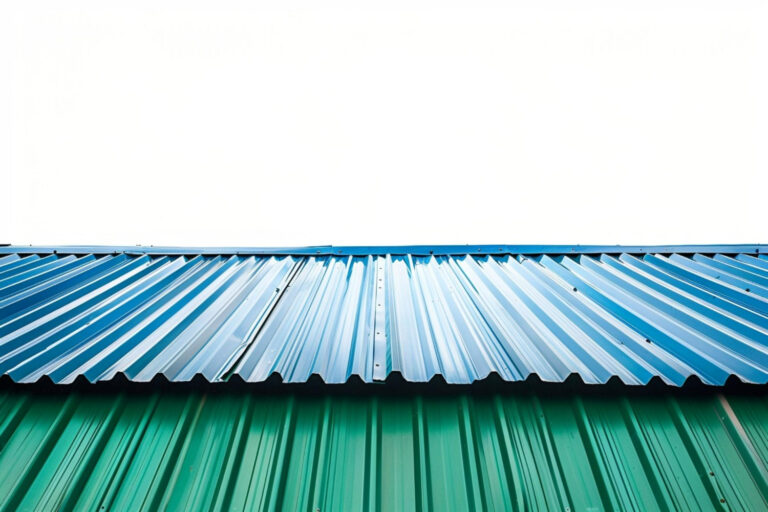
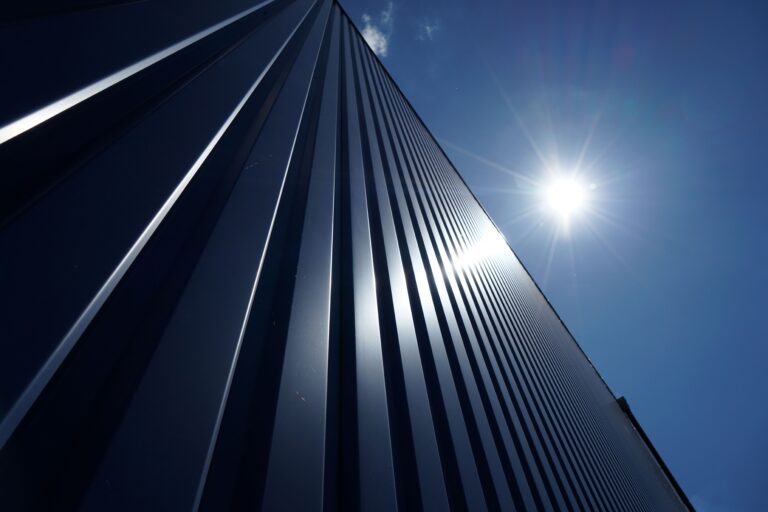
Ribbed metal roofing panels are a strong choice here. Their raised patterns help move water away from joints and reduce the chances of leaks. These panels are durable and suited for a range of roof styles and slopes. When installed properly around skylights, they keep the roof system looking neat and performing well across seasons.
Besides the panels themselves, you’ll need:
– Skylight unit with an angled curb or flashing frame
– Compatible flashing pieces for metal roofs, usually aluminum or coated steel
– Sealant tape or roofing mastic specific to metal applications
– Butyl or rubber gaskets for additional moisture protection
– Galvanized screws with neoprene washers to secure the panels tightly
Be sure all materials are made to work together. Mixing different types of metal or mismatched flashing can lead to corrosion problems later on. Make sure you follow your skylight manufacturer’s instructions, as they often recommend flashing systems designed to work best with ribbed panels.
Having the right components is only part of the job. The key is making sure everything fits and functions as one system. Proper assembly makes the difference between a skylight that works well year-round and one that causes headaches after every storm.
Installation Steps
Installing ribbed metal roofing panels around skylights takes accuracy and patience. This part of the process can be tricky, especially if you’re working with plenty of seams and raised ribs. The good news is, with the right steps and sequence, you can keep things running smoothly while protecting the roof against leaks and movement.
Start by framing the skylight box if one hasn’t already been constructed. Make sure the underlayment is wrapped carefully around the framed opening and overlapped at all corners. This lays the foundation for the panels and flashing to work together as one moisture-resistant system.
Next, follow this basic order:
1. Pre-fit each section of ribbed metal roofing panel around the skylight curb to avoid awkward cuts or forced adjustments
2. Cut the panels to size using snips or a metal-cutting circular saw. Avoid cutting across the ribs unless you’re in a flat section
3. Leave a small gap between the panel edge and the skylight framing to allow for thermal expansion
4. Position the bottom flashing downhill from the skylight. Tuck it under the lower panels so water flows past it naturally
5. Install the side flashing next. Position it on top of the lower panels and still beneath where the upper panels will go
6. Apply the top flashing last. It should overlap the side pieces and extend higher up the roof slope
7. Add weatherproof sealant tape or butyl-based seal along all contacting surfaces where metal meets metal
8. Fasten everything down securely using galvanized screws and neoprene washers for a watertight finish
One skipped step or wrong flashing layer can undo the benefits of metal roofing near skylights. This is especially true with ribbed metal roofing panels, where the pattern should guide water off the roof without interruption. Think of each piece like shingles, overlapping in the right direction so water can’t sneak through seams.
Post-Installation Tips For Better Skylight Performance
Once the flashing and panels are in place, a quick inspection can go a long way. Look closely for spots where water might collect or gaps in the flashing layout. Even a minor misalignment can create long-term issues if left unchecked.
A few things to check before calling it finished:
– Feel along all flashing edges to detect sharp spots or raised corners
– Apply extra sealant in corners that show any sign of stress or separation
– Hose down the area and watch how water moves around the skylight
– Confirm that screws are tight enough to seal but not so tight they pinch or crack the washer
Down the line, regularly cleaning skylights and flashing grooves keeps water flowing away like it should. Debris can trap moisture and block draining pathways during rain or when snow starts to melt. Checking hardware and sealant once or twice a year can help catch shifting panels or worn-out gaskets before they lead to roof damage.
There have been situations where the skylight looked sealed right after the job was done, but a year later, slight shifts in flashing created new leaks. A quick peek around the skylight from both inside the ceiling and outside at the curb can save money and effort later.
Keeping Your Roof in Top Shape
Installing skylights on ribbed metal churches or residential roofs doesn’t have to be stressful when you plan it right. Getting accurate measurements, prepping the area properly, and investing in materials that fit together will make the job smoother and the results more durable. These little details help protect everything below the roofline.
Ribbed metal roofing panels offer reliable performance and water control, especially when combined with the right flashing and fasteners. When skylights are installed with care, you can count on a bright, comfortable space that holds up through all kinds of weather.
From layout prep to seasonal maintenance, every step supports a leak-free system that’s built to last. For those who want fewer repairs and better performance year after year, it’s worth getting every layer of installation right the first time.
If you’re looking to upgrade your metal roof with skylights that last, start by understanding how ribbed metal roofing panels play a role in a watertight design. Acme Sheet Metals Inc offers dependable solutions to make sure your skylight installation stays secure and leak-free through every season. Reach out today to see how we can help you build a roof that performs from the inside out.