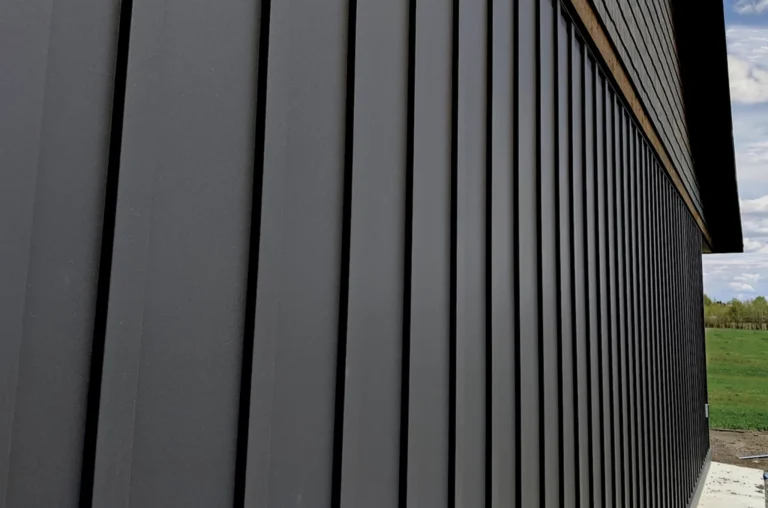
The edge of your roof might not seem like a big deal. But when water starts creeping in, wind grabs at loose sheets, or snow begins to back up after a storm, you’ll see just how important the roof edge really is. That’s where metal flashing comes into play. It’s the wrap-up detail that protects the edge of your roofing system from the elements, and when installed wrong, it doesn’t take long for problems to show up.
Metal roof edge flashing doesn’t just help water roll off cleanly. It also boosts the strength of your roofing panels, improves appearance, and keeps the structure beneath dry and protected. Whether it’s for a residential build or a commercial site, getting this step right matters more than it looks on the outside.
At Acme Sheet Metals Inc, we manufacture and supply custom steel panels, metal roofing, siding, trim, and flashings for a wide range of projects. That includes helping install durable, high-performing roof edge metal flashing—so everything above holds strong season after season.
Understanding Roof Edge Metal Flashing
Roof edge metal flashing is a fitted piece of metal that wraps around the outer edges of the roof. You’ll usually find it along the eaves and rakes—those lower roof edges and sloped sides that stick out past the walls of the house or building. The main goal of flashing is simple: push water away from the roof’s edges and into the gutters, or off the side cleanly.
When this flashing is installed properly, it helps stop moisture from sneaking under the roof panels. It seals the gap between the roofing system and the building structure so wind can’t lift anything loose. That matters a lot in places with sudden storms or heavy snow. Even if it’s not obvious at first, poor flashing work can lead to rotted wood, rusted fasteners, or sagging roof lines over time.
A good flashing job also helps the roof look cleaner. It gives a finished touch that keeps panels locked in and looking squared off, which helps reduce wear year after year. At the same time, it allows the panels to do their job without pulling loose at the corners.
Preparing For Installation
Before starting the install, getting prepped makes everything go smoother and much safer. Roof edge flashing seems simple, but the details matter. You’ll want the right materials, accurate cuts, and good footing while you work.
Here’s what you’ll need:
– Measuring tape
– Pencil or chalk line
– Metal snips or a cutting tool made for steel or aluminum
– Drill or impact driver
– Roofing nails or screws with neoprene washers
– Safety gloves, eye protection, and a harness if needed
– Ladder and fall protection equipment
After collecting tools, measure the roof edges carefully. Don’t rush this part. Clean, accurate cuts help the flashing pieces match without gaps or awkward overlaps. Snapping a chalk line will keep long runs straight.
Cutting metal trim? Make sure you’re using the right tool for the type of metal you’re working with. Snips are fine for short cuts or softer materials. For harder metals, you might prefer a blade or power cutter suited to steel or aluminum. When you cut, do it from the bottom if you can, to avoid scratching the visible finish. Pay attention to how the surface will face when the trim is in place.
And don’t skip safety. Always wear gear like gloves and goggles. If the slope is steep or the roof is slick, wear boots with grip and use a harness or scaffolding. A few extra minutes setting up safely is worth more than risking a fall.
Doing this prep work sets the stage for everything that follows. With solid, accurate pieces ready to go, you’re more likely to get that strong, weather-tight seal that matters most at the edges of your roof.
Step-By-Step Installation Process
Installing roof edge metal flashing might seem straightforward, but getting it right means following a sequence and watching your spacing and overlaps. Before attaching anything, double-check your measurements and cut angles. Bad overlaps or gaps make leaks a lot more likely.
Here’s a general rundown of how the install should go:
1. Start at the bottom eave of the roof. Place the first flashing piece so it sits flat against the roof decking and extends slightly past the fascia board.
2. Secure it using screws or nails with neoprene washers, spaced evenly—about every 10 to 12 inches. Keep fasteners roughly an inch in from the outer edge.
3. Where flashing pieces meet, overlap them by at least two inches. Apply a strip of sealant between the layers before fastening.
4. Move on to the rakes. These are the angled sides. Cut the flashing flat at the top and bottom so it matches the roof’s slope.
5. At corners, you may need to notch or bend the metal for a tight fit. Some installers use hand seamers or crimping tools to shape edges more easily.
6. Use roofing cement or butyl tape under exposed joints or at spots where water might sneak in.
7. After it’s all in place, review each joint, especially where the rake and eave pieces overlap. That’s usually where leaks start if anything was off.
A common mistake is hurrying through those overlaps or skipping the sealant. Missing a cut angle or forgetting about the roof’s slope can also push water the wrong way. It’s easy to think that little misalignments won’t hurt, but they often lead to costly repairs later.
So slow down. Watch your spacing. Keep lines straight and overlaps tight.
Post-Installation Maintenance Tips
Once you’ve installed the roof edge flashing, don’t just leave it. Regular checks and basic upkeep will help it last year after year, even through storms and changing seasons.
You don’t need to climb up every few weeks, but inspect the flashing once in the spring and again in the fall. Look for:
– Loose fasteners or screws
– Gaps or splitting between overlapped sections
– Corrosion or discoloration near nails or screw heads
– Water damage around fascia boards or soffits
– Movement or shifting of the flashing after storms
Run your hand along the edge to check for wobble. Flashing should feel firm. If something’s loose, better to fix it quickly than wait for a leak.
Another simple tip is cleaning out the gutters. If water pools at the edge because leaves or debris are packed in the gutter, it can seep underneath the flashing eventually. That can lead to rot, depending on how long the area stays wet.
Tree limbs can be a problem too if they touch the roof. A branch brushing the edge again and again can wear away the metal finish or cause the flashing to lift over time.
If you spot anything that looks damaged or off, it’s better to call in pros to get it handled. Bends, rust, or lifted edges all mean that section isn’t doing its job. Patch jobs might hold temporarily, but they’re not a long-term fix. Having flashing repaired or reinstalled the right way avoids worse problems down the road.
Why A Strong Roof Edge Really Matters
Putting in roof edge metal flashing the right way helps your whole roof system stay watertight and sturdy. It anchors the panels, seals out moisture, and guards against problems that show up years down the road. When it’s done right, flashing keeps your roof lines sharp and your structure protected under heavy weather, heat, and time.
It also improves the project’s look. A clean, well-finished roof edge adds polish without drawing attention to it. And when storms roll through or long winters put stress on your roof, those tight flashing corners are what make a difference.
Even small mistakes during install can let water sneak under roofing or let wind grab loose corners. Over time that leads to sagging panels or damage to the roof deck beneath. That’s why pairing solid installation with seasonal checkups is the best way to keep things working year after year.
If you want to make sure your roof edge will hold up for the long haul, don’t cut corners on flashing. When it’s time to inspect, repair, or replace it, it’s smart to trust crews who do this every day. Acme Sheet Metals Inc can help you get the performance and protection you’re looking for.
For those wanting a lasting and effective defense against nature’s challenges, proper installation and upkeep of roof edge metal flashing is key. For more tips on how to get it done right, take a look at our roof edge metal flashing guide and see how Acme Sheet Metals Inc can support your roofing projects with experience and quality materials.


