When people think about making their homes more comfortable, they often go straight to things like insulation, windows, or HVAC upgrades. But there’s one detail that plays a big part in how your home feels season to season — roof ventilation. Without the right airflow moving through your attic or roof space, temperatures can swing, moisture can build up, and the overall energy use in your home might creep higher than it should.
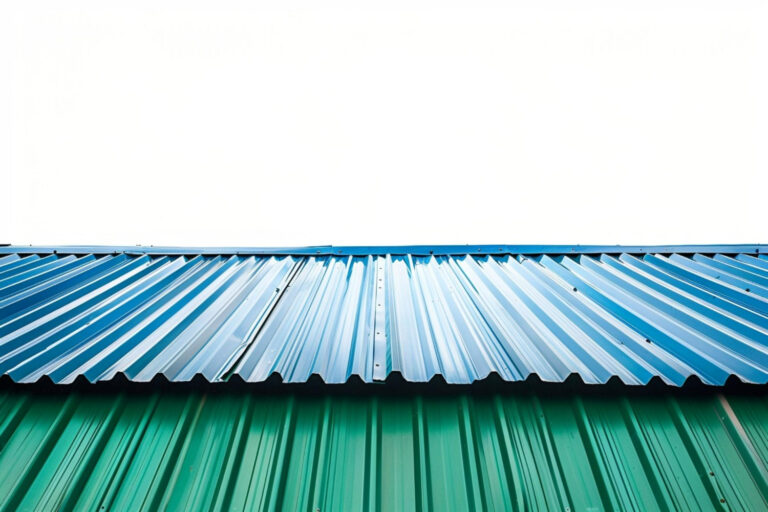
A metal roof is a solid investment for its lifespan and durability, but it becomes even more effective when it’s part of a properly ventilated system. Steel roofing panels do a great job at handling temperature shifts, and pairing them with a good vent setup helps your home stay more balanced no matter the weather. If your roof holds heat in during warm months or feels damp after cold snaps, your ventilation could be the missing link.
At Acme Sheet Metals Inc, we’ve seen how smart ventilation paired with steel roofing panels can make a noticeable difference year-round.
Understanding Roof Ventilation
Roof ventilation works by moving air through your attic space to help push out moisture and trapped heat. Without it, warm air has nowhere to go. In colder weather, that can lead to condensation and slow damage inside the roof structure. During hotter months, that stale air can build up and put extra pressure on your AC system, all while making things less comfortable inside.
A typical system includes intake and exhaust vents. Intake vents are often placed under the eaves or along soffits. They let cool, fresh air flow in. Exhaust vents sit higher, usually at the ridge or near the top, and give warm, stale air a way to exit. This natural setup creates a steady current of air moving through your attic or roof cavity.
Steel roofing panels work well here because they don’t hold onto heat the way some other materials do. Their smoother, cooler surface helps regulate temperatures inside the home when matched with proper ventilation. This makes them especially useful in climates with big seasonal swings.
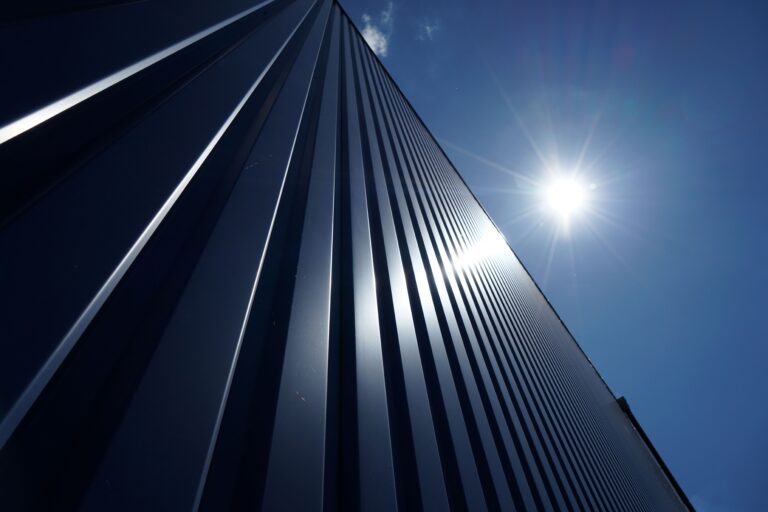
They also make it easier to install vents along ridges or seams without affecting the structure of the roof. Whether you’re retrofitting an older roof or working with new construction, steel roofing panels offer flexibility for all types of ventilation setups.
Preparing For Installation
Before installing ventilation on a metal roof, take time to plan things out. A little preparation goes a long way in making sure the job is both safe and successful.
Here’s a list of tools and supplies you’ll likely need:
– Tape measure
– Chalk line or marker
– Utility knife or shears for trimming
– Drill or driver with the right bits
– Fasteners rated for steel roofing panels
– Vent kits (intake and exhaust based on your design)
– Weatherproof sealant
– Safety gloves and non-slip shoes
– Ladder, roof anchors, or fall protection gear
Walk the entire roof before you get started. Look closely for loose panels, leaks, weather damage, or areas that may need to be repaired. If there are soft spots or rust, those need to be fixed first.
Use your tape measure and chalk line to mark where intake and exhaust vents should go. A good layout allows for steady airflow from the edges of the roof up to the top. If using ridge vents, make sure there’s a path from the lower edges (like soffits or gables) to the ridge.
Keep safety front and center. Metal roofs can be slippery, especially early in the morning or after light rain. Wear shoes with good grip, secure any loose clothing, and always use fall protection. Make sure your ladder is placed on flat, secure ground before stepping up.
Preparation means more than having your gear ready. It’s looking over the roof, confirming your vent plan, and being safe every step of the way.
Installation Process
Once your prep work is done, it’s time to get those vents installed. Taking your time here will pay off with better performance.
Start with the intake vents:
1. Mark the vent locations along soffits or beneath eaves where the cool air enters.
2. Cut or drill the vent openings per the manufacturer’s specs.
3. Install the intake vents using screws that won’t strip or damage the metal panels.
4. Apply weatherproof sealant around the edges to block moisture or pests.
Next, move on to exhaust vents:
1. Find the ridge or highest points of the roof and mark them for exhaust placement.
2. Use metal shears or a utility knife to cut openings based on your vent design.
3. Fit the vents into place and fasten them with approved screws.
4. Repeat the sealing process to make each connection watertight.
Once all vents are in, double-check that air can move freely from the intake vents up to the exhaust vents. Blocked airflow—like insulation piled near the ridge—will reduce the system’s efficiency quickly.
Inspect your fasteners as you go. On metal roofs, the wrong screws or loose fittings can lead to leaks or rattling during windy weather. Only use hardware rated for steel roofing panels and make sure everything holds tight through expansion and contraction.
One thing to avoid is over-ventilating. More vents don’t always mean better performance. Placing vents unevenly or without a clear airflow path can create areas where air doesn’t move at all. Stick with the layout you planned and make adjustments only when needed.
Maintenance And Troubleshooting
Just like any roofing system, roof ventilation needs to be checked regularly. This helps it stay efficient and prevents small issues from turning into pricey repairs.
Twice a year, give your roof and attic space a visual check. Here’s what to watch for:
– Leaves, dust, or nests clogging intake or exhaust vents
– Rusted or missing fasteners
– Loose vent covers or siding shifts around vent areas
– Signs of moisture inside the attic like water streaks or damp insulation
Odd temperature changes throughout the house or a musty attic smell could also mean there’s a blockage or poor air circulation. Sometimes pests get into vents and throw things off balance. If that happens, screens or grates can be installed to help keep wildlife out.
Repairing these issues early helps you get more life out of your metal roof. It also avoids higher cooling costs and that uncomfortable feeling that something’s just not right indoors.
Getting up on a metal roof is never something to rush. Even for quick checks, wear the right footwear, and use proper safety gear. If you see something that doesn’t feel simple or you’re unsure of the damage, it’s wise to call in the pros for help.
At Acme Sheet Metals Inc, we’re here to help homeowners and contractors with everything from inspections to full ventilation fixes.
Better Comfort Starts With Smarter Venting
Roof ventilation plays a larger role in your home’s comfort than you might expect. It’s something most people don’t think about until there’s a problem. But getting ahead of it while planning your roofing project saves stress in the long run.
A well-ventilated roof keeps temperatures more even, protects your AC system, and helps your steel roofing panels perform even better. When air moves freely, moisture doesn’t stick around, and pressure doesn’t build up in the attic.
Whether you’re in the middle of a build or looking to upgrade an existing roof, taking the time to focus on ventilation is worth the effort. It leads to better comfort across seasons, fewer roof problems, and even some cost savings down the line.
Working with experts like Acme Sheet Metals Inc gives you that confidence. From quality steel roofing panels to professional support and customized venting solutions, we help you get the most out of your roofing system.
Proper ventilation paired with steel roofing panels can make a big difference in keeping your home comfortable through the seasons. At Acme Sheet Metals Inc, we’re here to help you get the most out of your roof by making sure everything is installed the right way. Whether you’re upgrading an old system or starting fresh, our installation guides are packed with helpful tips to get you started.